HANGING PLAYPERCH PROJECT
Big Bob scarlet macaw needed a new place to be. He'd abandoned his longtime pal George, and taken to wandering around the shelter getting in trouble. He wouldn't stay on anything that he could climb down from, and I didn't want to keep him in a cage fulltime.
So, time to build a new playperch. These hang from the ceiling, so birds who clim down to the floor can't get off of them. Obviously, they won't keep in a bird who can fly.
This is a simple easy CHEAP solution to where to put a bird. This gym took 90 minutes to build, and cost only the price of the hardware...about $12.
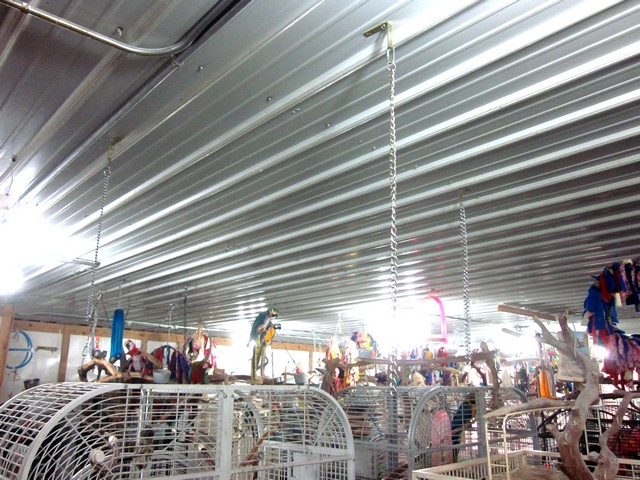
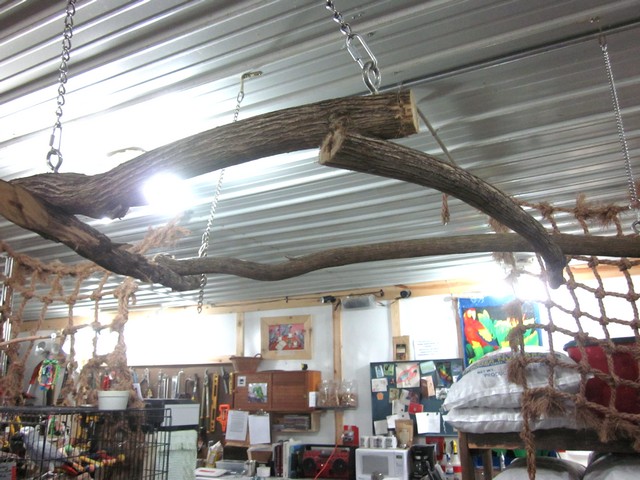
Step 1...suspension
Build from the top down...start by attaching chains to the ceiling. You'll need at least three attachment points. If you're not semi-proficient at DIY, get help...this is the most critical part of the project. You MUST get solidly attached to something that can take the weight of the entire structure. In this case, I've attached angle irons to a steel ceiling with 3" pole barn screws. Be sure you hit a beam or truss.
Step 2...main beams
This step has variables, because birds are variable. I'm building for an oversized macaw, so I have to use fairly heavy wood. These branches are 3" thick limbs.
You'll start with two branches, as long as you want the perch to turn out. You can usually use available branches, as long as they're clean of chemicals and free of insects. Check for bird safety, and don't use wood if you don't know what it is.
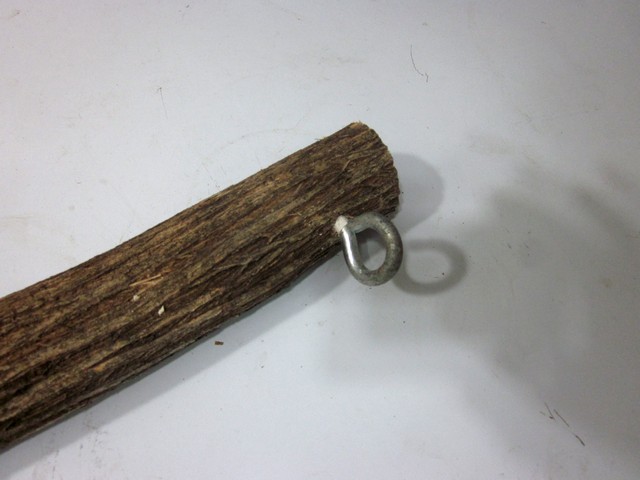
Set eye-bolts into each end of your main beams.
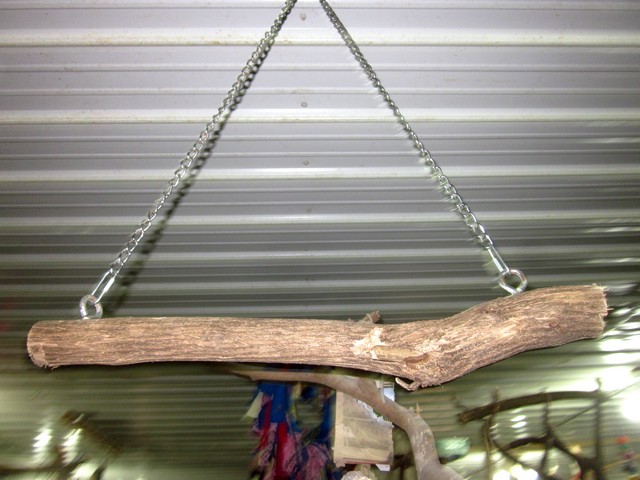
If you only have three attachment points, one will need to be a trapeze like this: two chains from the same point, attached to each end of one main beam. Be sure to use adequately heavy quicklinks, and tighten them down with pliers.
Your other main beam attaches to two points. Put these points a little further away from the first ceiling attachment than you want the final perch to come out.
Step 3...crossbeams
These can be a little lighter, since they are only taking their own weight and that of the bird. They can be attached to the main beams with wood screws or stainless hose clamps. If you use screws, be sure to countersink them. This is the step where you establish the actual length of the perch. Attaching the cross beams will draw the mains to whatever spacing you choose.
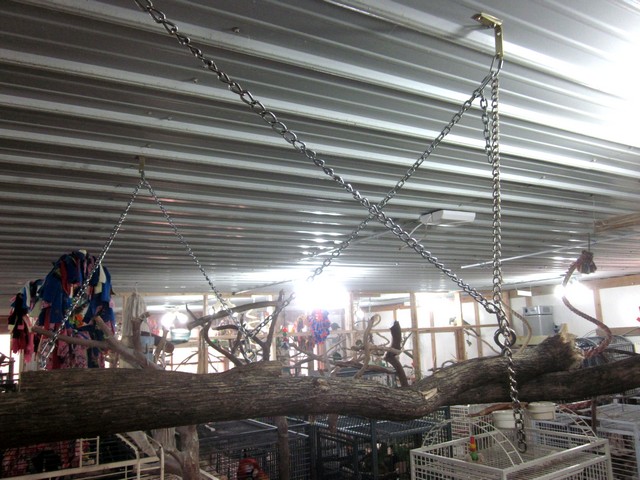
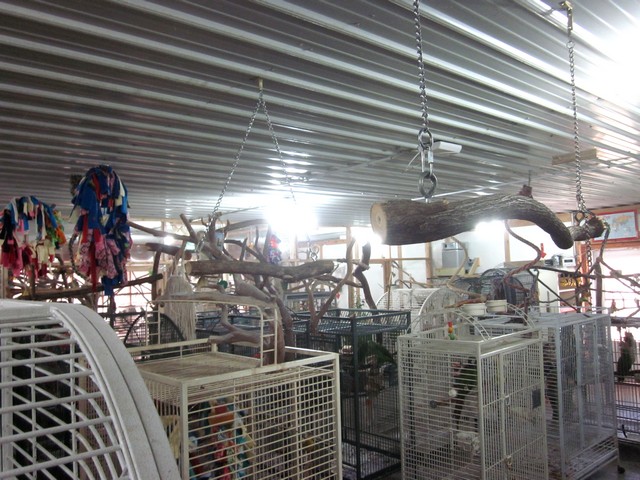
Step 4...stabilization
These diagonal chains prevent the structure from swinging back and forth. A little movement is OK, but too much can cause a bird to feel insecure, and even fall.
Attach one chain at each ceiling point, and run it to a beam attachment on an opposite corner. Get them as tight as you can.
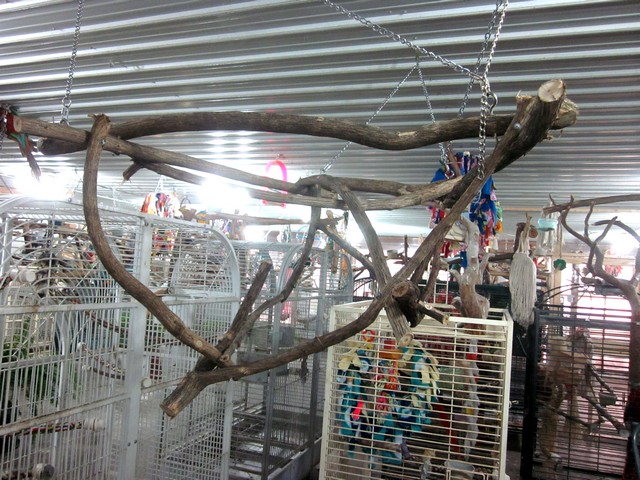
Step 5...building the perch
This is the fun part. Use twisty, forked, curved, or weird branches. Find ways to run them so they make a FUN playgym for your bird. Again, if you're using screws, countersink them. Make sure you have a variety of textures and thicknesses. leave the bark on...your bird will enjoy removing it. Be aware of the size of your bird, and his tail length; there has to be room to move around.
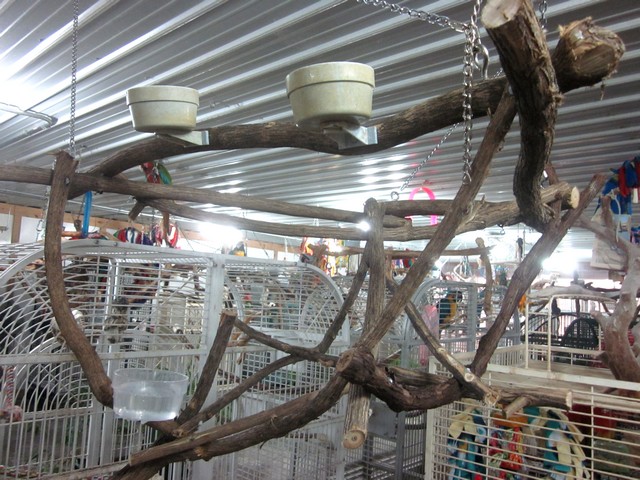
Step 6...equipment
OK, relax and have a cup of coffee. All the hard work is done. Spend some time looking at the playgym, and thinking about where your bird will want to eat and drink. Put the dishes in. I use the Lixit lock crocks, minus the clamp part...just run a wood screw right through the base. WARNING! Think about where your bird will want to perch most of the time, and don't put the bowls under that spot. Remember, as a rule most birds will want to be as high as they can. As a rule, most birds need exercise. Put something the bird will really want to get to down on a low section, so the bird HAS TO move around to get to it.

Toys can attach to the ceiling or the playgym itself. Be sure there are no tangling hazards, and that the bird can reach the toys from the perches. Again, consider where the bird will want to rest a lot, and don't put toys directly under that spot. Also make sure toys don't occupy a space the bird will need to move around safely.
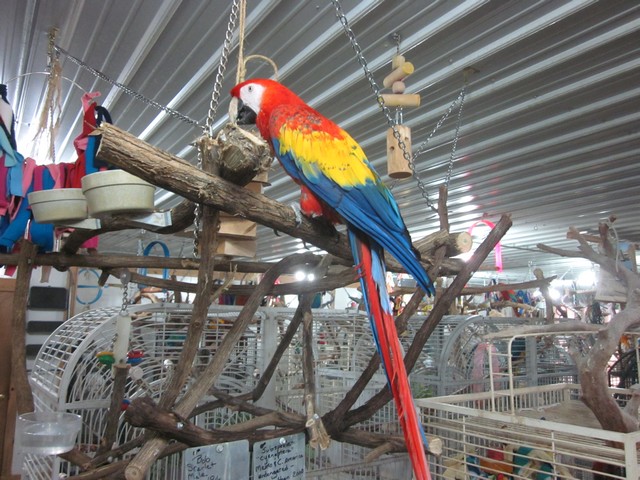
OK, so....fill up the food and water dishes and see how your bird likes his new place. Big Bob approves, it appears.